Swedish Semla Recipe: Buns, Filling and Cold Assembly
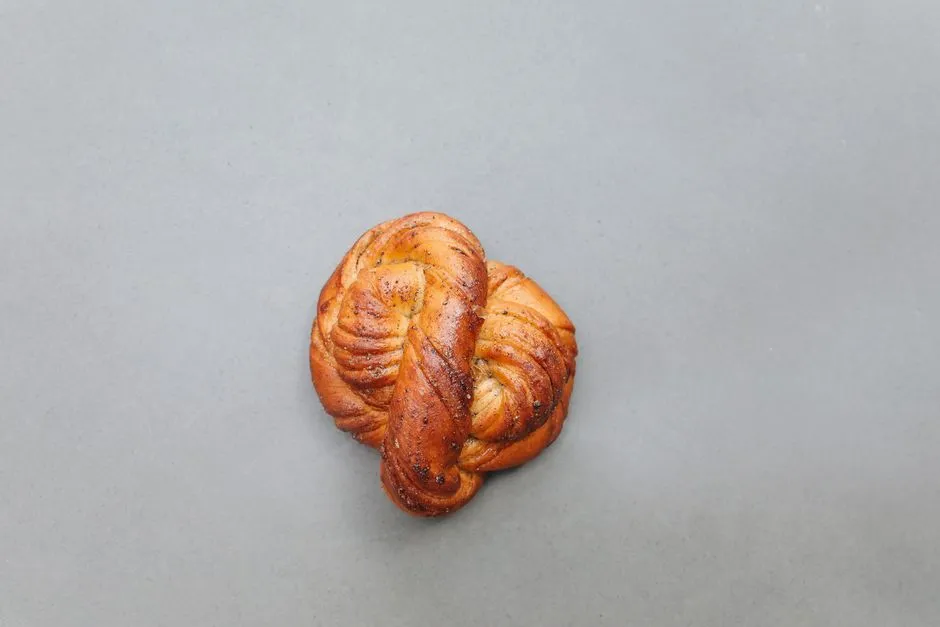
- How do you make Swedish semla buns?
- What is a semla, and when is it eaten?
- What is the complete recipe?
- What needs attention around heat and equipment?
- How can you keep the ingredients and stages straight?
- What should you record if the result differs from the recipe?
- How should you manage cream and assembled buns?
- Can you do any work ahead?
- What should guests know before serving?
- Sources
How do you make Swedish semla buns?
To make Swedish semlor, bake cardamom buns, cool them completely, then add an almond-based filling and whipped cream beneath the cut lids. Never taste raw dough. Check wheat, milk, egg and almond allergens and prevent cross-contact. Keep cream and filled buns refrigerated at 40°F or below; discard after more than 2 hours outside cold control, or 1 hour above 90°F. Follow the chosen recipe and equipment instructions rather than improvising heat or substitutions.
This source-led guide uses one published formula, not a recipe we have tested. The practical challenge is organising the bun, filling and cream so that assembly is the last task, not the beginning of a long wait on the table.
What is a semla, and when is it eaten?
A semla is the singular bun; semlor is the plural. Visit Sweden’s cultural guide associates it with Shrove Tuesday, called Fettisdagen, before Lent. The modern season extends beyond that day. That is useful context, not a requirement to schedule a home bake on one particular date.
For a broader comparison of the repertoire, see the classic Swedish fika bakes guide. This recipe adds chilled filling and assembly to a yeast-bun project. Plan for both jobs before starting.
What is the complete recipe?
Martha Collison’s Waitrose recipe, condensed; makes 12.
Ingredients: 250ml milk; 75g cubed butter; 500g strong white bread flour; 1tsp fine salt; 75g caster sugar; 1tsp ground cardamom; 7g fast-action yeast; 2 medium eggs. Filling: 200g marzipan, 2tbsp whole milk, 450ml double cream; icing sugar.
- Melt butter in milk over low heat; cool until safe to touch. Mix flour with salt/sugar/cardamom on one side, yeast opposite. Beat one egg into cooled milk; gradually mix into flour.
- Knead on a lightly oiled surface 5–10 minutes until smooth/stretchy. Cover in a lightly oiled bowl; rise 1–3 hours until doubled.
- Fold dough inward several times; divide into 12 balls. Space across two parchment-lined trays. Cover with a clean towel; rise 45–60 minutes until noticeably larger.
- Preheat to 220°C. Brush with remaining beaten egg. Bake 10–12 minutes until golden throughout. Cover with a slightly damp clean towel; cool completely.
- Cut lids; scoop centres. Mix torn crumbs with grated marzipan and filling milk into smooth, thick paste; refill cavities.
- Whip cream to soft peaks; star-pipe over filling, replace lids, dust, serve.
Use pasteurised dairy and ingredients within their package dates. This is the source’s hand-kneading option; no stand-mixer speed or alternative oven-mode conversion is supplied here. Do not infer a total duration from baking time alone: rising, cooling and assembly are separate stages.
What needs attention around heat and equipment?
Read the saucepan, oven, parchment and whipping-equipment instructions before starting. Keep the work area stable and do not reach into moving beaters. Stop and isolate powered equipment as its manual directs before removing attachments or clearing food.
The warmed milk mixture must cool before the egg is added; do not put fingers into hot liquid to test it. Keep children and pets away from hot cookware. US Fire Administration burn-prevention guidance recommends dry oven mitts and positioning cookware so it cannot be pulled down or knocked over.
Use oven gloves, not the damp covering towel, to handle hot trays. Keep towels, paper and other combustible materials away from the stovetop and oven elements. USFA cooking guidance advises staying with the pan and turning the burner off if leaving the kitchen. Do not use uncontrolled heat to speed a rise.
How can you keep the ingredients and stages straight?
Use an original three-part preparation card. Write the actual product names and mark an ingredient when it has been used, not merely when its packet has been opened.
| Card | What to record | What it prevents |
|---|---|---|
| Dough and finish | Ingredients for mixing, plus anything reserved for a later stage | Using a reserved ingredient too early |
| Filling | Product label, added liquid and the clean container it will occupy | Treating a filling as an unidentified leftover |
| Serving | Number needed now, cold-storage space and time removed from refrigeration | Filling the whole batch without a serving plan |
The card is an organisational tool, not a safety certificate. It cannot tell you that an ingredient is suitable for a guest or that food has been held safely.
Keep volume and weight units as written. A jug measurement and a scale reading are different records; do not silently turn millilitres into grams for every liquid. Likewise, note which egg is used when rather than treating the ingredient count as permission to put all eggs into the dough.
What should you record if the result differs from the recipe?
Keep the formula intact for the first attempt. At each rise, record the starting appearance and the appearance before proceeding. If expansion differs substantially from the recipe, check the yeast type, package instructions and measurements rather than adding extra yeast to finished dough or holding it indefinitely in warmth.
After baking and cooling, photograph a cut bun if helpful. Separate what you observed from what you think caused it. “The centre looked underbaked” is an observation; “the yeast was wrong” is a conclusion that needs more evidence. Do not use raw or incompletely cooked bun crumb in a ready-to-eat filling.
The Food Standards Agency’s flour guidance says flour products must be thoroughly cooked unless sold as ready to eat. Never taste the dough. Clean hands, utensils and surfaces after raw flour or egg handling, and keep the filling and serving equipment separate from that preparation.
How should you manage cream and assembled buns?
For cold service, the US FDA’s buffet guidance specifies 40°F or colder. Keep perishable components refrigerated until needed and return unused portions promptly. Discard perishables left outside temperature control for more than 2 hours, or 1 hour when the surroundings exceed 90°F.
Count preparation, assembly, display and transport together. Brief refrigeration does not erase earlier uncontrolled time. Keep a small serving plate separate from refrigerated reserves; do not continually top up an older plate with newly chilled buns. Refrigeration or freezing cannot rescue food that has exceeded the limit.
Our editorial plan is to assemble only the number being served and avoid planning days of filled-bun leftovers. This is a serving strategy, not a newly tested shelf life. Follow ingredient use-by dates and any shorter after-opening directions.
Can you do any work ahead?
Prepare labels, check equipment and clear refrigerator space before baking. For a longer lead time, keep the baking and final assembly separate: freeze cooled, unfilled extras promptly in labelled airtight portions, rather than holding all the dairy components at room temperature while the buns are made.
The FSA’s freezing guidance recommends a freezer around −18°C, freezing homemade goods as soon as possible, and following packaging instructions. Defrost in the refrigerator and use within 24 hours once fully defrosted. This does not grant cream or filling a fresh shelf life beyond its own label and handling history.
No overnight raw-dough schedule, filled-bun freezer texture guarantee or improvised cream stabiliser is supplied. If one of those is essential, choose a complete recipe specifically written for it.
What should guests know before serving?
Read every label, including the marzipan, dairy, flour and finishing sugar. GOV.UK’s allergen guidance explains ingredient declarations and precautionary warnings; a vegan label is not an allergen-free guarantee. Identify the actual allergens and assess cross-contact, not just the recipe name.
If a guest has a serious allergy and the ingredients or preparation controls are uncertain, do not offer an improvised “safe” substitute. Discuss a trusted alternative and obtain appropriate professional guidance where needed.
Choose drinks through the coffee-brewing collection and plan the gathering through the fika table. A manageable number of properly handled buns is enough. The useful finishing task is to put away the remaining perishables and sit down while the portions intended for immediate service are ready.
Sources
- Martha Collison, Waitrose: Semlor recipe.
- Visit Sweden: the Swedish semla.
- FDA: raw milk safety.
- FDA: serving safe buffets.
- FSA: flour safety and chilling, freezing and defrosting.
- GOV.UK: allergen labelling.
- USFA: burn prevention and cooking fire prevention.
Sources checked 8 September 2026.